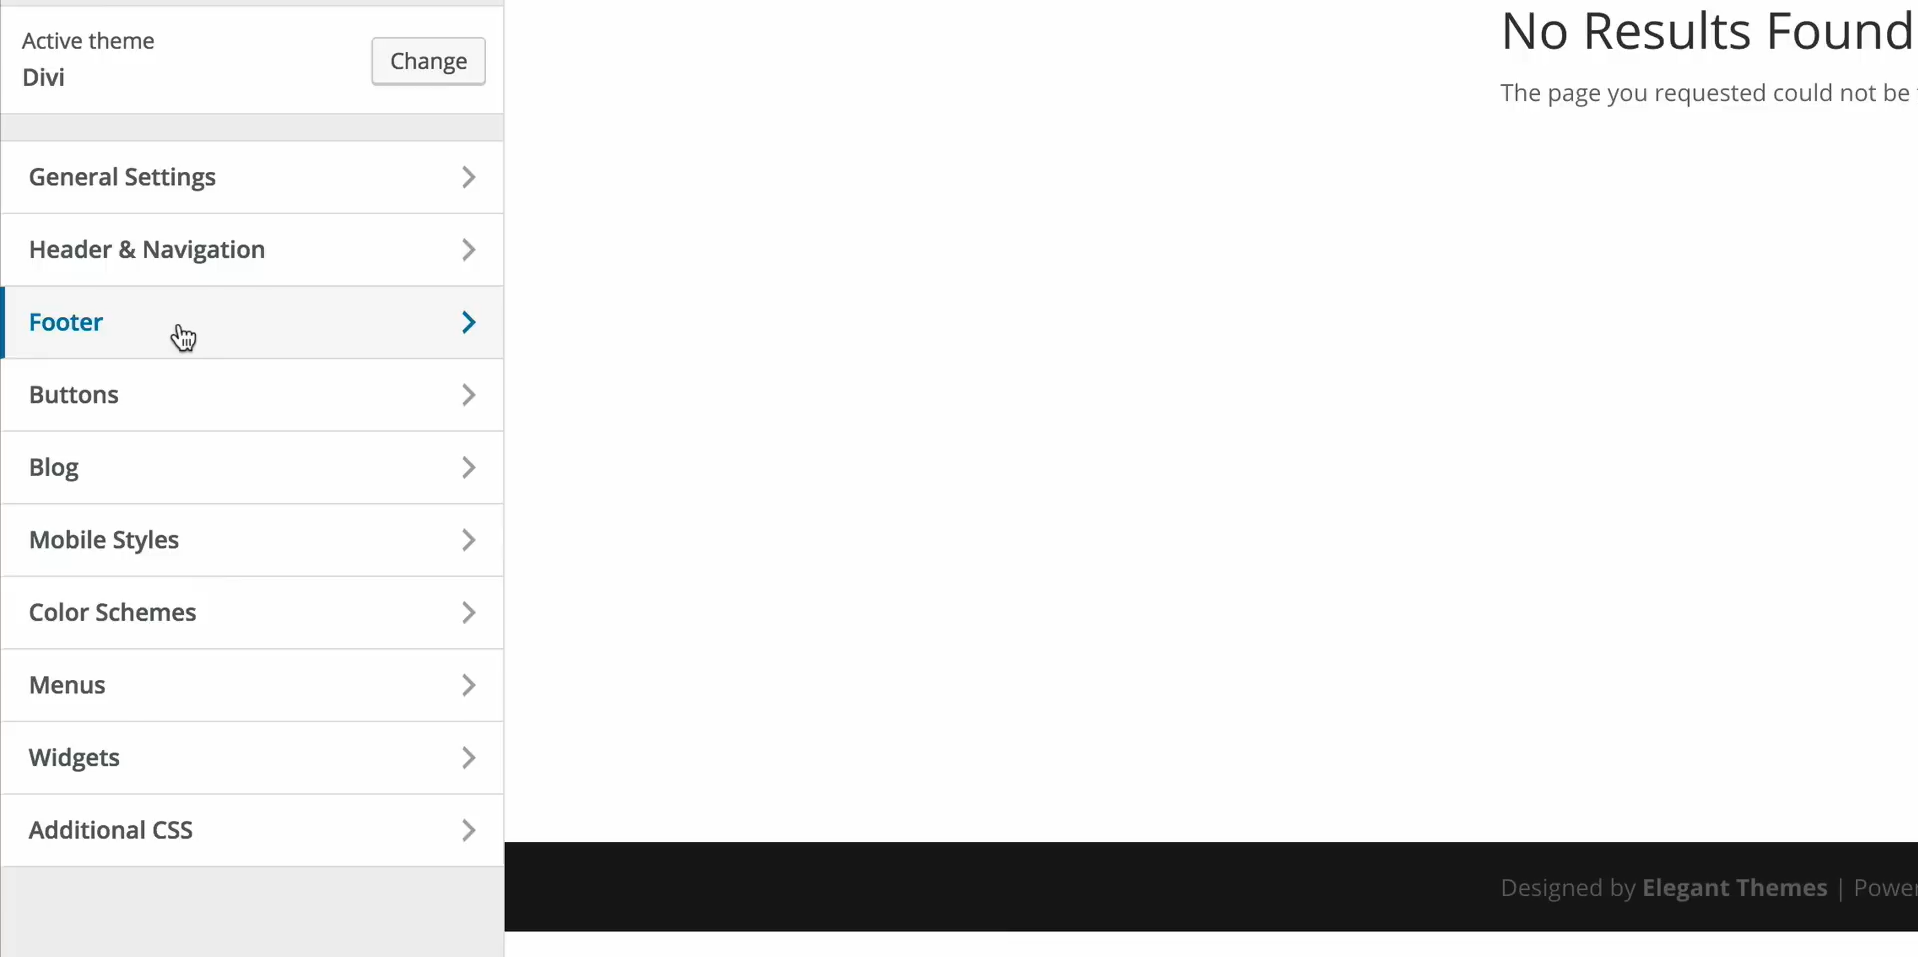
Are you struggling to customize & change footer text in your Divi theme? Whether you’re looking to replace the default “Designed by Elegant Themes” footer or add a personalized message, editing the footer text in Divi can significantly enhance your site’s appearance and branding.
In this comprehensive guide, we’ll show you exactly how to change footer text in Divi using both the WordPress Customizer and the Divi Theme Builder, so you can achieve a polished, professional look without any coding skills required.
Why Change Footer Text in Divi?
Many Divi users want to edit their footer text to remove the default credits, add a custom message, or include legal disclaimers. A customized footer is a small change that makes a big impact on your site’s professionalism and consistency. With the Divi Theme Builder and WordPress Customizer, you have multiple options to tailor the footer to suit your needs.
Follow these steps to learn how!
Step-by-Step Instructions for Changing Footer Text in Divi
Step 1: Access the Footer Settings through WordPress Customizer
- Login to your WordPress dashboard.
- Navigate to Appearance > Customize.
- Click on Footer from the menu options.
- Choose Bottom Bar to access the Edit Footer Credit section.
- Replace the text field with your desired content (e.g., “© [Year] Your Company. All Rights Reserved.”).
- Save & Publish your changes.
This method is ideal for beginners as it doesn’t require any custom coding. However, for more advanced footer designs, you can use the Divi Theme Builder.
Step 2: Modify Footer Text Using Divi Theme Builder
- Go to your WordPress Dashboard.
- Click on Divi > Theme Builder.
- Select Add Global Footer or edit an existing footer.
- Use the Text Module to insert or replace the footer text.
- You can also add dynamic elements like shortcodes or HTML to create custom layouts.
- Click Save and then Publish your footer changes.
This approach provides more flexibility and customization options, allowing you to create a fully branded footer for your site.
Step 3: Using Custom Code to Change Footer Text
For those comfortable with custom code, you can edit the footer text directly through the footer.php file or by using the Code Module in Divi.
- Go to Appearance > Theme Editor.
- Locate the footer.php file.
- Search for the line containing the current footer text.
- Replace it with your custom HTML or text.
- Save your changes.
⚠️ Note: Always create a child theme before editing core files to prevent losing changes during theme updates.
Common Mistakes to Avoid When Editing Footer Text
- Editing Without a Child Theme: Directly modifying core files can result in lost changes after updates.
- Overloading Footer with Widgets: Keep your footer simple and uncluttered for better UX.
- Ignoring Mobile Responsiveness: Ensure the footer text looks good on both desktop and mobile devices.
Conclusion
Changing footer text in Divi doesn’t have to be complicated. Whether you use the WordPress Customizer, Divi Theme Builder, or custom code, each method offers a unique way to tailor your site’s footer. Take the time to experiment with different options until you find the perfect solution that aligns with your brand. Ready to take your Divi site customization to the next level click here.


