Chrome extensions are small software programs that enhance the functionality of the Chrome browser. They enable users to customize their browsing experience by adding new features or modifying existing ones. From productivity tools to fun games, extensions have a wide range of applications.
Extensions can be used for various purposes, such as blocking ads, managing passwords, checking emails, or even enhancing web development. They play a crucial role in improving user experience and streamlining workflows.
2. Development Environment Setup
Before you start building a Chrome extension, you need to set up your development environment. Ensure you have the following tools installed:
- A text editor like Visual Studio Code or Sublime Text.
- Google Chrome browser.
- Basic knowledge of HTML, CSS, and JavaScript.
3. Understanding Chrome Extension Structure
Manifest File
The manifest file (manifest.json) is the blueprint of your Chrome extension. It contains metadata about the extension, such as its name, version, and permissions. Here’s a basic structure of a manifest file:
					/*JSON*/
{
  "manifest_version": 2,
  "name": "My Extension",
  "version": "1.0",
  "description": "A simple Chrome extension",
  "permissions": ["activeTab"],
  "background": {
    "scripts": ["background.js"]
  },
  "browser_action": {
    "default_popup": "popup.html",
    "default_icon": "icon.png"
  }
}
Directory Structure
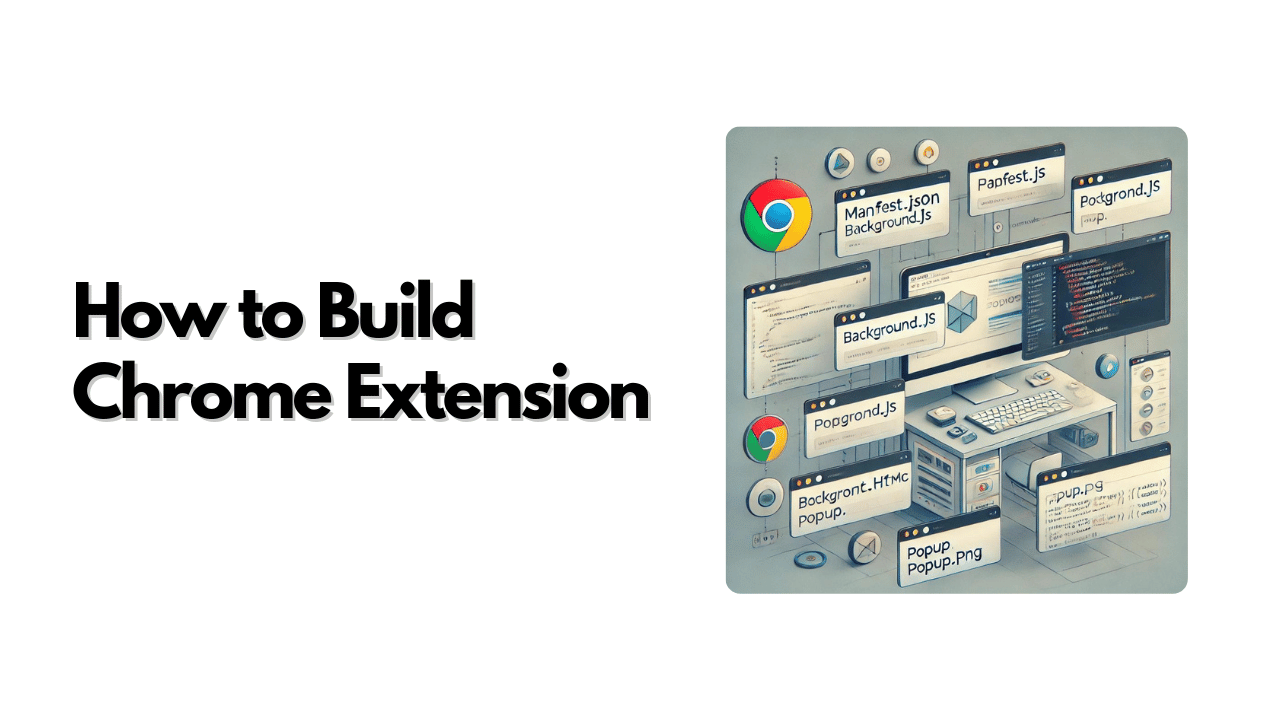
Organize your files and folders properly. A typical directory structure includes:
- manifest.json
- background.js
- popup.html
- popup.js
- icon.png
4. Core Components of a Chrome Extension
Background Scripts
Background scripts run in the background and handle tasks like managing state, listening for browser events, and interacting with other parts of the extension.
Here’s an example of a simple background script:
					chrome.runtime.onInstalled.addListener(function() {
  console.log("Extension Installed");
});
Content Scripts
Content scripts are JavaScript files that run in the context of web pages. They allow you to read and modify the content of the pages.
Example:
					chrome.runtime.onInstalled.addListener(function() {
  console.log("Extension Installed");
});
Popup UI
The popup UI appears when the extension’s icon is clicked. It usually contains HTML and JavaScript to provide a user interface.
Example of a simple popup:
					<!-- popup.html -->
<!DOCTYPE html>
<html>
  <head>
    <title>My Extension</title>
    <style>
      body { width: 300px; }
    </style>
  </head>
  <body>
    <h1>Hello, World!</h1>
    <button id="myButton">Click me</button>
    <script src="popup.js"></script>
  </body>
</html>
					// popup.js
document.getElementById('myButton').addEventListener('click', function() {
  alert('Button clicked!');
});
5. Building a Simple Extension
Step-by-Step Guide
- Create the Manifest File: Write the basic manifest.json file with necessary metadata.
- Write Background and Content Scripts: Implement the logic for background and content scripts.
- Add a Popup UI: Create popup.html and popup.js for the extension’s user interface.
Example Project
Build a basic “Hello World” extension:
- manifest.json: Define the extension’s metadata and permissions.
- background.js: Add background logic.
- popup.html: Create the popup interface.
- popup.js: Add interactivity to the popup.
6. Advanced Features
Permissions
Permissions define what an extension can access. Common permissions include:
"activeTab": Allows the extension to access the currently active tab."storage": Enables the extension to use Chrome’s storage API.
Interacting with Web Pages
Use the Chrome API to interact with web pages. For example, you can use chrome.tabs.executeScript to run scripts on the current tab.
Using the Storage API
					// background.js
chrome.runtime.onInstalled.addListener(function() {
  chrome.storage.sync.set({color: '#3aa757'}, function() {
    console.log("The color is green.");
  });
});
Message Passing
					// popup.js
chrome.runtime.sendMessage({greeting: "hello"}, function(response) {
  console.log(response.farewell);
});

// background.js
chrome.runtime.onMessage.addListener(function(request, sender, sendResponse) {
  console.log(request.greeting);
  sendResponse({farewell: "goodbye"});
});
7. Debugging and Testing
Using Chrome DevTools
- Breakpoints: Set breakpoints in your scripts to pause execution and inspect variables.
- Console: Use the console to log messages and interact with your extension.
- Inspecting Scripts: View and debug background and content scripts using the Sources panel.
Loading Your Extension
- Go to
chrome://extensions/in your Chrome browser. - Enable Developer mode.
- Click “Load unpacked” and select your extension’s directory.
8. Publishing Your Extension
Chrome Web Store
To publish your extension:
- Create a developer account on the Chrome Web Store.
- Prepare your extension package (ZIP file of the extension directory).
- Submit your extension for review and comply with Chrome Web Store policies.
Marketing and Distribution
Promote your extension through social media, blogs, and tech forums to increase visibility and downloads.
Conclusion
Building a Chrome extension involves setting up a development environment, creating a manifest file, writing background and content scripts, and designing a popup UI.


