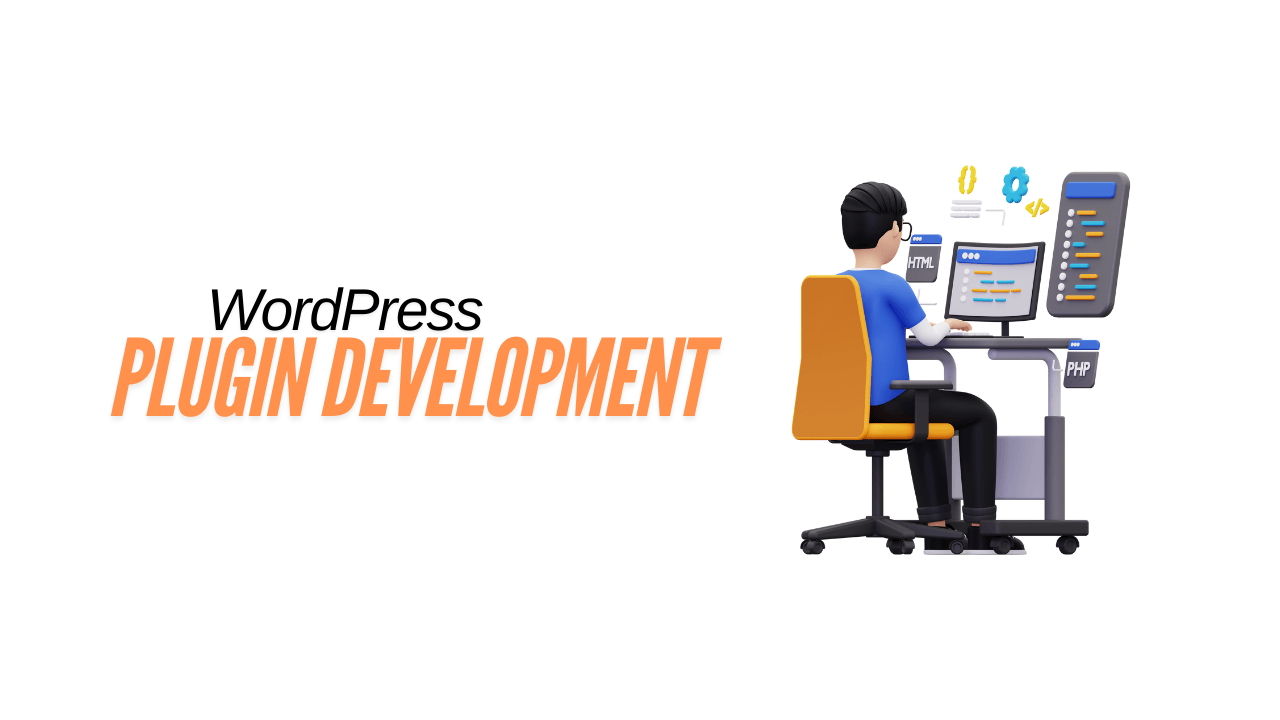
Have you ever wondered how to add custom features to your WordPress website without changing its core code? With this ultimate beginner’s guide to WordPress plugin development, you’ll discover how easy it can be to extend your site’s functionality with plugins.
Whether you’re aiming to add new features, improve user experience, or even monetize your development skills, creating plugins is a game-changing skill that can truly elevate your WordPress site and set you apart from other developers.
Why Learn WordPress Plugin Development?
WordPress plugins give you the power to customize your website without altering the core. This means you can add new features, improve functionality, and even integrate third-party services without worrying about updates overwriting your changes. This guide will take you through setting up your environment, writing your first plugin, and following best practices to ensure success.
By the end, you’ll be equipped to create plugins that expand WordPress capabilities while keeping it secure and user-friendly.
Learning to develop plugins also empowers you to solve unique problems that may not have a readily available solution in the WordPress plugin repository. Whether you want to add a custom feature for your website or contribute to the community by developing and sharing plugins, this skill can lead to numerous opportunities, from personal growth to potential monetization.
Prerequisites for WordPress Plugin Development
Before diving into plugin creation, here’s what you need:
- PHP Skills: WordPress is built with PHP, so understanding it is essential. You should have a working knowledge of functions, classes, and syntax in PHP to create efficient plugins.
- HTML, CSS, JavaScript: These languages are crucial for creating engaging user interfaces and interactions. HTML and CSS help you control the visual aspects, while JavaScript adds dynamic behavior to your plugin.
- Familiarity with WordPress Core: Understanding the core structure helps integrate your plugin smoothly. Knowing how WordPress loads, where hooks are located, and how the internal API works is key to building high-quality plugins.
Setting Up Your Development Environment
A good development setup will help you work effectively and efficiently.
Here’s what you need to get started:
- Local Development Tools: Install a local server like XAMPP, WAMP, or Local by Flywheel to set up your environment. These tools simulate a server environment on your computer, allowing you to test plugins before deploying them live.
- Code Editor: Use a powerful code editor like Visual Studio Code, Sublime Text, or PHPStorm. These editors come with features like syntax highlighting, code completion, and debugging tools, which make development easier and more efficient.
- Version Control: Track changes with Git for easy collaboration and rollback. Git is essential, especially when working on larger projects or collaborating with other developers, as it helps manage versions and revert to previous states if issues arise.
Creating Your First Plugin: Step-by-Step Guide
1. Create the Plugin Folder
To begin developing your plugin, navigate to your WordPress installation‘s wp-content/plugins directory. Create a new folder named after your plugin, like my-first-plugin. This folder will contain all the files related to your plugin, such as PHP, CSS, and JavaScript files.
2. Create the Main PHP File
Inside your new folder, create a file named my-first-plugin.php. At the top, add a comment block to identify the plugin. This metadata block is crucial as WordPress reads it to display your plugin in the admin dashboard:
<?php
/*
Plugin Name: My First Plugin
Plugin URI: http://example.com/my-first-plugin
Description: A simple plugin for beginners.
Version: 1.0
Author: Your Name
Author URI: http://example.com
License: GPL2
*/
?>
3. Adding Functionality with Hooks and Filters
Hooks and filters are key to plugin development and allow your plugin to interact with WordPress:
- Actions let you add custom code at specific points in the WordPress execution flow, like displaying a message when a post is published.
- Filters modify data before it is saved or displayed, allowing you to customize content dynamically.
Here’s a simple example of using a filter to add content to posts:
function add_custom_content($content) {
    if (is_single()) {
        $content .= '<p>Thank you for reading! Follow us for more tips.</p>';
    }
    return $content;
}
add_filter('the_content', 'add_custom_content');
In this example, we use the add_filter() function to modify the content of single posts. The add_custom_content() function appends a custom message to the post content.
Best Practices for WordPress Plugin Development
Use Unique Naming Conventions
Prefix function and variable names to avoid conflicts with other plugins. For example, use myprefix_ or myplugin_ as a unique prefix for functions, classes, and other elements to reduce the risk of naming conflicts that could cause errors.
Security Is Key
Security is a critical aspect of plugin development. Always validate and sanitize user inputs to prevent vulnerabilities such as SQL injection and Cross-Site Scripting (XSS). Use functions like sanitize_text_field(), esc_html(), and wp_nonce_field() to ensure that data inputs are secure. Never trust user inputs, and always escape data before outputting it to the browser.
Make It Translation-Ready
Prepare your plugin for translation by using WordPress internationalization functions like __() or _e(). This makes your plugin more accessible to users in different languages. Store all strings in __() and _e() calls to allow easy translation by using tools like Poedit.
Document Your Code
Provide comments for complex logic and create a readme.txt file that explains your plugin’s purpose, usage, and features. Documentation is important not only for other developers but also for yourself when revisiting your code after some time.
Testing and Debugging Plugins
Testing and debugging are essential for ensuring that your plugin functions properly across various environments and use cases:
- Debugging Tools: Use tools like Query Monitor and enable WordPress debugging with
define('WP_DEBUG', true);. Query Monitor is particularly useful for tracking database queries, hooks, and PHP errors. - Unit Testing: Implement unit tests using tools like PHPUnit to catch issues early and maintain code quality. Unit testing allows you to test individual components of your plugin in isolation, ensuring they work as expected.
Deploying Your Plugin
Create a Readme File
A detailed readme.txt file is crucial for guiding users. Include installation instructions, FAQs, and a changelog. This file helps users understand the purpose of your plugin, how to install and use it, and any recent updates or changes.
Use Version Control
Use Git for version tracking, which makes it easy to revert changes if needed. It also helps in managing updates, especially when releasing new versions or fixing bugs.
Submit to WordPress.org
Follow the WordPress Plugin Repository guidelines to submit your plugin. Make sure it’s well-tested and documented before submission. The WordPress Plugin Repository has strict standards, and adhering to them ensures your plugin is reliable and user-friendly.
Advanced Topics for Continued Learning
Once you’re comfortable with the basics, it’s time to explore more advanced areas of WordPress plugin development:
- Object-Oriented Programming (OOP): Organize your code using classes for a more modular approach. OOP can help keep your code organized, reusable, and easier to debug. Instead of procedural code, using classes and objects helps encapsulate functionalities logically.
- REST API Integration: Use the WordPress REST API to add advanced functionalities to your plugin, such as connecting your WordPress site to external applications or creating custom endpoints for your plugin.
- Gutenberg Block Development: Learn to create custom blocks for the Gutenberg editor. With the shift towards Gutenberg, understanding how to develop blocks using React and JavaScript is increasingly important for modern plugin development.
Resources to Continue Your Journey
To keep growing as a WordPress plugin developer, leverage these resources:
- WordPress Plugin Handbook: A go-to resource for plugin developers. It covers everything from basic setup to advanced topics and provides code examples to help you learn.
- Community Forums: Engage with the WordPress community on platforms like Stack Overflow, Reddit, and WordPress Support Forums for help and advice. Community engagement is crucial for learning from others’ experiences and troubleshooting issues.
- Online Tutorials: Check out WPBeginner, TutsPlus, and other tutorial websites for step-by-step guidance. Watching tutorial videos on platforms like YouTube can also be beneficial, especially for visual learners.
Conclusion
With this guide, you now have the basics to start developing WordPress plugins. Remember to start small, experiment, and continually learn. Begin by building simple plugins that solve a specific problem or add a minor feature to your site. As you gain confidence, you can explore more complex functionalities and contribute to the WordPress ecosystem.
By building plugins, you can customize WordPress sites to meet your needs or even earn income by selling your solutions. Plugin development opens up endless possibilities—the only limit is your creativity. Whether you’re developing plugins for personal use, client projects, or sharing them with the community, the skills you develop will have a long-lasting impact on your web development journey. Keep learning, keep building, and let your creativity shine through WordPress plugin development.


